Introduction
Cement is a versatile construction material used in various applications, from building foundations to walls and floors. However, its inherent properties, such as high thermal conductivity, can lead to significant heat loss or gain in structures. To mitigate this issue, reflective insulation is a valuable solution. In this article, we will explore the benefits of reflective insulation, how to properly insulate cement surfaces, and the step-by-step process for achieving effective insulation.
Understanding Reflective Insulation
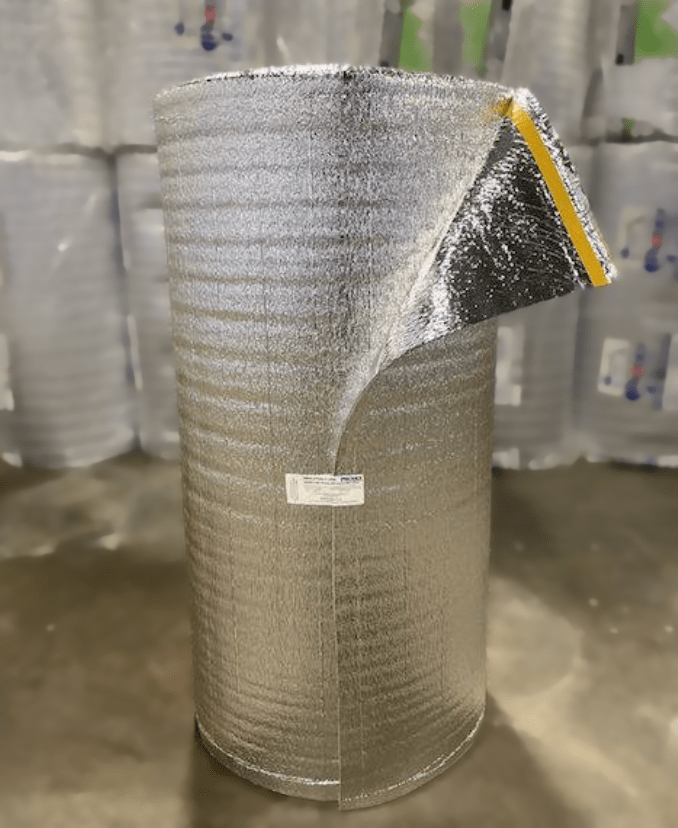
Reflective insulation, also known as radiant barrier insulation, is designed to control heat transfer by utilizing reflective materials that reflect radiant heat. It consists of multiple layers, typically including a reflective surface, a layer of air space, and sometimes additional insulation materials like foam or fiberglass. The reflective surface is often made of aluminum or other metals that efficiently reflect heat, which makes it an excellent choice for insulating cement surfaces.
Key Benefits of Reflective Insulation:
- Thermal Reflectivity: Reflective insulation effectively reflects radiant heat, preventing it from being absorbed by the cement surface.
- Energy Efficiency: By reducing heat gain in the summer and heat loss in the winter, reflective insulation can significantly lower energy costs.
- Moisture Resistance: Many reflective insulation products also act as a vapor barrier, preventing moisture infiltration and protecting cement structures from damage.
- Easy Installation: Installing reflective insulation is typically straightforward, making it accessible for a wide range of DIY projects.
- Durability: Reflective insulation is a long-lasting solution that doesn’t degrade over time, ensuring lasting benefits.
Insulating Cement with Reflective Insulation
To effectively insulate cement with reflective insulation, follow these steps:
- Gather Necessary Materials and Tools:
- Reflective insulation material
- Utility knife or scissors
- Measuring tape
- Staple gun or adhesive
- Measure the Surface:
- Carefully measure the area you intend to insulate. Ensure you account for any obstacles or irregularities in the cement surface.
- Cut Reflective Insulation Material:
- Using a utility knife or scissors, cut the reflective insulation material to the required size. Leave a little extra material around the edges for better coverage.
- Prepare the Surface:
- Ensure that the cement surface is clean and dry. Remove any debris or loose particles.
- Install Reflective Insulation:
- Attach the reflective insulation to the cement surface using a staple gun or adhesive. Start from one corner and work your way across the surface, ensuring a tight fit.
- Overlap Seams:
- If using multiple pieces of reflective insulation, overlap the seams by a few inches to create a continuous, sealed barrier. This prevents heat from escaping through the gaps.
- Seal Edges and Joints:
- Seal all edges, seams, and joints with aluminum tape to create an airtight seal, enhancing the insulation’s effectiveness.
- Conduct a Quality Check:
- Carefully inspect the installation to ensure there are no gaps, tears, or areas with insufficient coverage.
Reflective insulation is an effective solution for insulating cement surfaces, helping to control heat transfer and improve energy efficiency. By properly installing reflective insulation, you can create a thermal barrier that significantly reduces heat gain or loss, leading to a more comfortable and energy-efficient environment. Whether you’re insulating a home, a commercial building, or a specific cement structure, the benefits of reflective insulation are clear, making it a valuable addition to any construction project.

